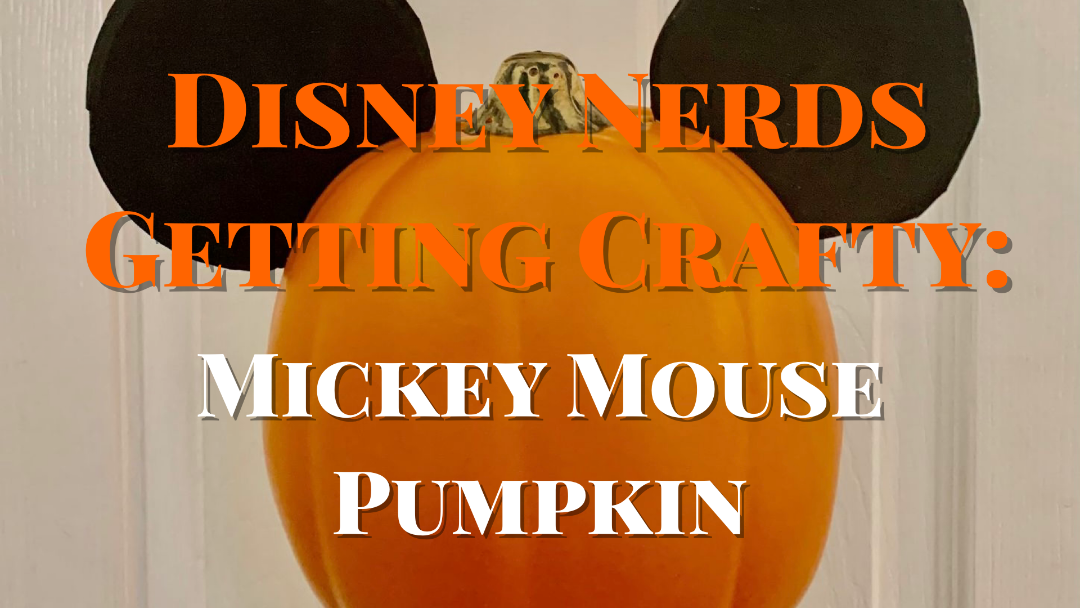
Disney Nerds Getting Crafty: Mickey Mouse Pumpkin
Looking for easy and fun Disney crafts to do this Halloween? In this post, I will show you one of my favorites to make!
Let’s get started!
One of my favorite things to do is to add a touch of Disney in my home during the holidays. In this post, I will show you how I make my very own Mickey Mouse Pumpkin!

In this craft project, you will need the following items:
- Foam pumpkin
- Black foam sheet
- Scissors
- Knife
As far as sizing goes, it all depends on what size pumpkin you get. It’s fairly easy to eyeball this so no measurements are needed in order to make this.
The first thing is first, you want to make two circles in your black foam sheet. I used a plastic cup to help me make a perfect circle. Instead of making a pen mark, I actually used the back of the pen and just pressed into the foam to make an indention.


Once you have the circles traced out you can go ahead and cut out these circles. I love using foam for the ears so they can stand up on their own and it gives more dimension.
Next, you will need to cut two slots into the foam pumpkin so you can slide in the ears. Both of my slots are about an inch and a half long. The size will all depend on the size of your pumpkin and ears. Use your best judgment when making these slots. Start off small and try to insert the ears until you get the look you want.
Once you insert both ears then you are done! Easy right? Will you add this to your Halloween decoration collection?
Show us your Mickey Mouse Pumpkins, email us at Morgan@thedisneynerdspodcast.com and we’ll show off your pumpkins on our social media!


